CHOCOLATE PEANUT BUTTER CHEESECAKE PROTEIN CUPS
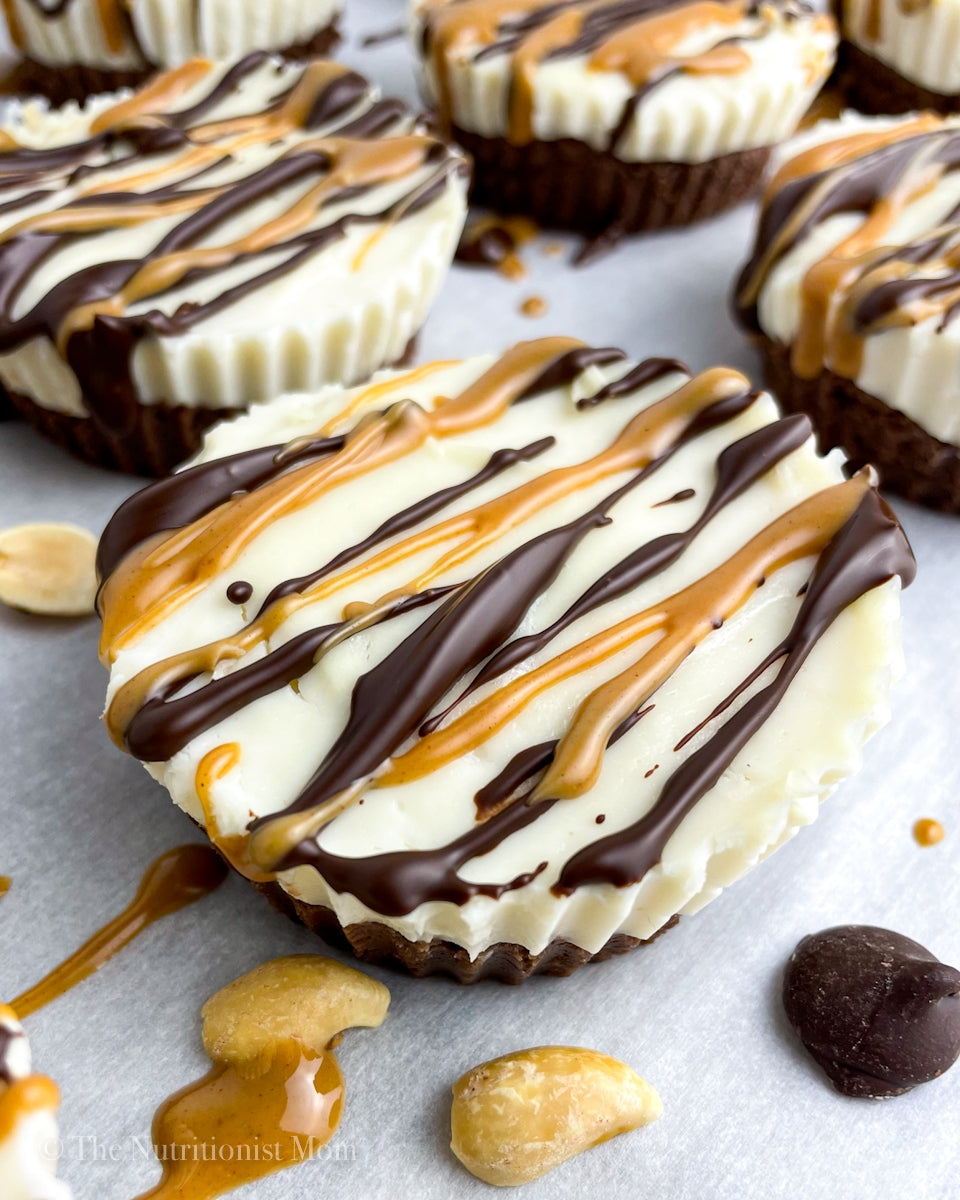
Chocolate Peanut Butter Cheesecake Protein Cups – think chocolate peanut butter no bake cookie meets cheesecake. Such a dreamy treat when it’s hot out and you don’t want to turn the oven on! These decadent cups are also low in carbs and sugar, but high in muscle-building protein. Did I mention gluten-free and grain-free? You can also make these completely dairy-free or vegan if you wish 😉

Chocolate peanut butter layer
The chocolate peanut butter base combines chocolate whey protein, coconut flour, sweetener, cashew milk (any milk will do), and creamy peanut butter. You should be able to substitute another type of protein powder (such as collagen, rice, pea, or soy protein), but you may need to adjust the amount of milk to get a thick, soft dough.

The coconut flour can also be substituted for one-quarter cup of rolled oats (or oat flour) if you prefer a heartier texture. You could also use cashew butter, almond butter, or sunflower seed butter if you don’t care for peanut butter!
Pure vanilla extract and salt are optional but take on a new level of deliciousness!

Protein cheesecake layer
For the protein cheesecake layer, I used vanilla whey protein, Greek yogurt, neufchâtel cheese, milk, and sweetener. You can use any type of protein powder here as well (collagen, rice, pea, or soy protein), just add or reduce the amount of milk to get a similar thickness to your chocolate peanut butter dough (the thicker the better!).

In place of nonfat plain Greek yogurt, you can use any type of yogurt you like, including dairy-free! Same goes for the neufchâtel cheese – any cream cheese will work. You can also use cashew milk, almond milk, rice milk, dairy milk… whatever you have on hand!
For both layers, the sweetener I used is an organic stevia blend that’s twice as sweet as sugar. This means you could need up to twice the amount if using granulated erythritol, granulated monk fruit, baking stevia, coconut sugar, or any sweetener that measures 1:1 like sugar.

As a finishing touch, I drizzle my Chocolate Peanut Butter Cheesecake Protein Cups with melted chocolate and melted peanut butter. So good!
Anyway, here’s the recipe. I hope you’ll rate this one and comment below if you try it 🙂
This post contains affiliate links.
Chocolate Peanut Butter Cheesecake Protein Cups
Ingredients
Chocolate peanut butter layer
- 1/2 cup (60g) chocolate protein powder I used a whey blend
- 2 tbsp. coconut flour* or 1/4 cup rolled oats
- 2 tbsp. unsweetened cocoa powder
- 2 tbsp. calorie-free sweetener* I used one that's twice as sweet as sugar
- 1/2 cup unsweetened cashew milk* more or less depending on protein used
- 1/4 cup natural creamy peanut butter*
- 1/4 tsp. pure vanilla extract optional
- 1/4 tsp. salt optional
Protein cheesecake layer
- 1 cup (8 oz.) plain nonfat Greek yogurt*
- 1/2 cup (60g) vanilla protein powder* I used a whey blend
- 2 tbsp. calorie-free sweetener* I used one that's twice as sweet as sugar
- 1/2 cup (8 oz.) neufchatel cheese* or any cream cheese
- 2 tbsp. unsweetened cashew milk* more or less depending on protein used
- 1/2 tsp. pure vanilla extract optional
Topping (optional)
- 2 tbsp. dark chocolate melted
- 2 tbsp. natural creamy peanut butter melted
Instructions
- Combine ingredients for chocolate peanut butter layer in a medium bowl.
- In a second medium bowl, combine ingredients for the protein cheesecake layer.
- Using silicone muffin cups or a muffin pan coated with cooking spray, fill five of the cups with the peanut butter mix and press down (about one heaping tablespoon each).
- Next, layer cheesecake over top peanut butter layer (about one heaping tablespoon each). Knock muffin pan on counter to flatten tops and get out any air bubbles.
- Place cups in the freezer for 20-30 minutes until firm but not hard as a rock.
- Pop the cups onto a plate and move to the refrigerator.
- Now, melt your chocolate! You can use the microwave on a low setting for 30-60 seconds at a time (stirring in between), or you can nest two pans on the stovetop with a bit of water in the larger pan and your chocolate in the smaller pan. Heat nested pans over medium high heat until chocolate is melted, stirring constantly.
- Drizzle chocolate over cups and return to the freezer.
- Repeat the same melting process with your peanut butter, and drizzle over the cups.
- If you're saving these for later, return to the freezer. Otherwise, dig in! You may have to put in the fridge for a few minutes before eating if keeping in the freezer.
Notes
Also in Blog
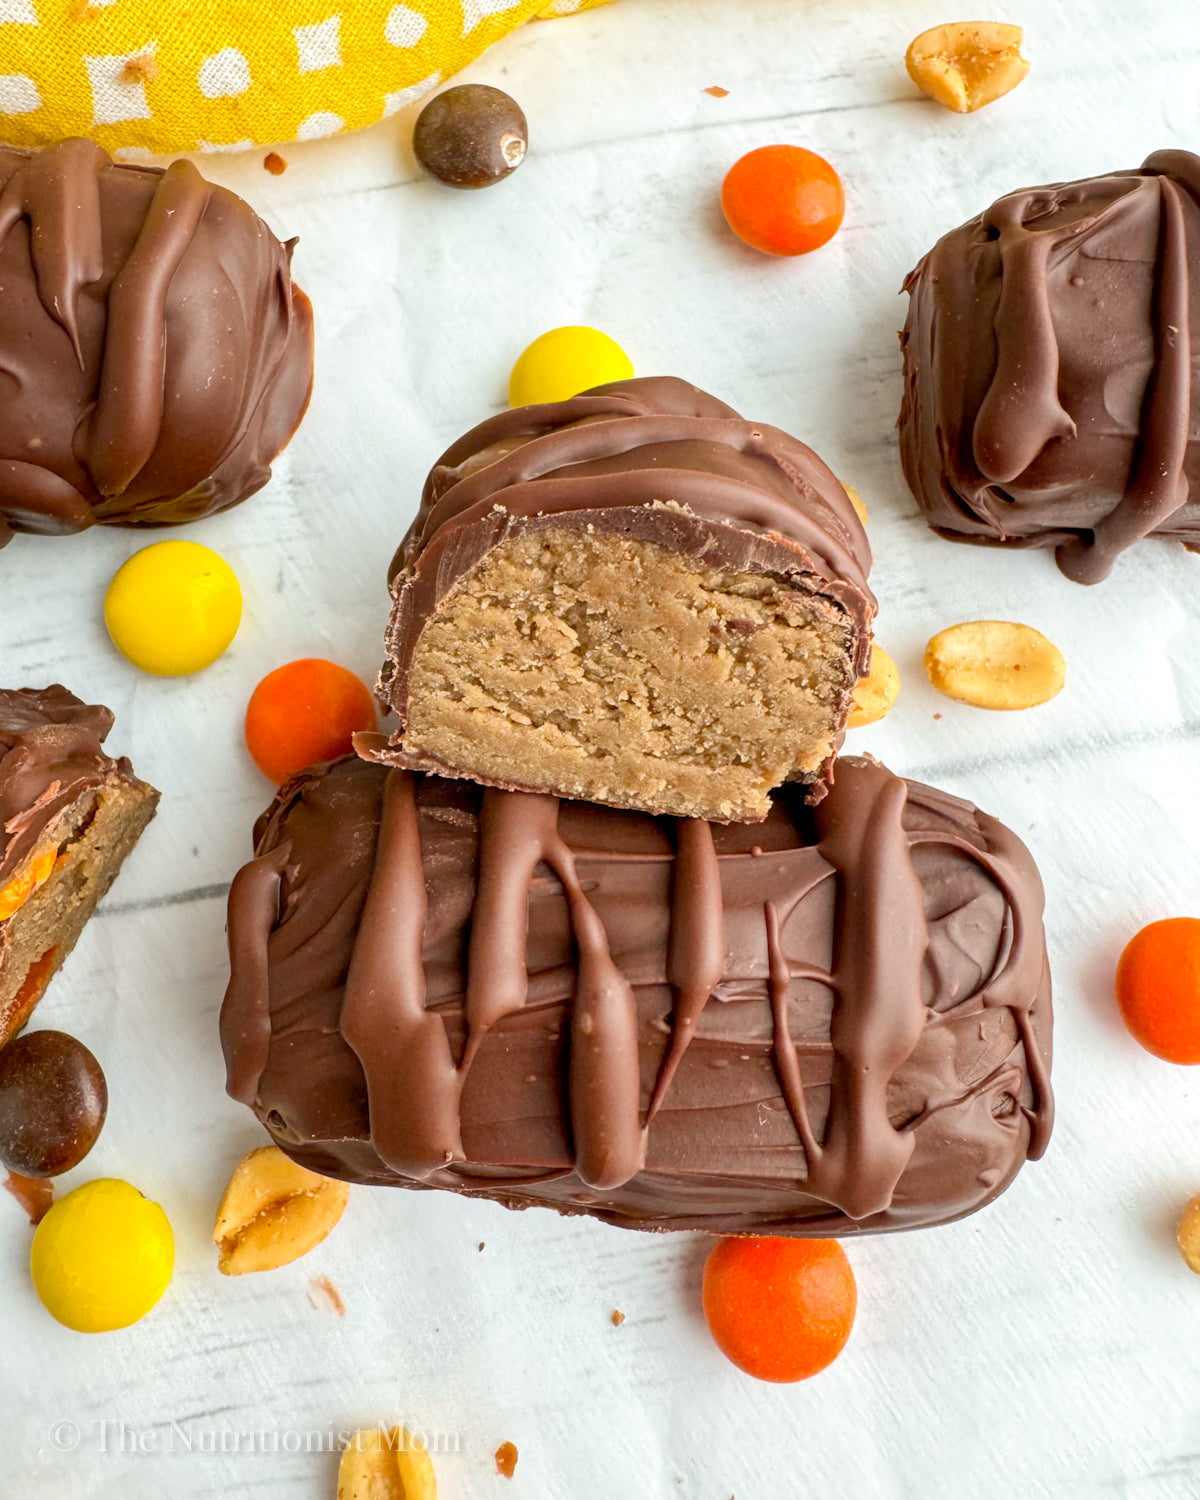
CHOCOLATE PEANUT PROTEIN CANDY BARS (VEGAN)
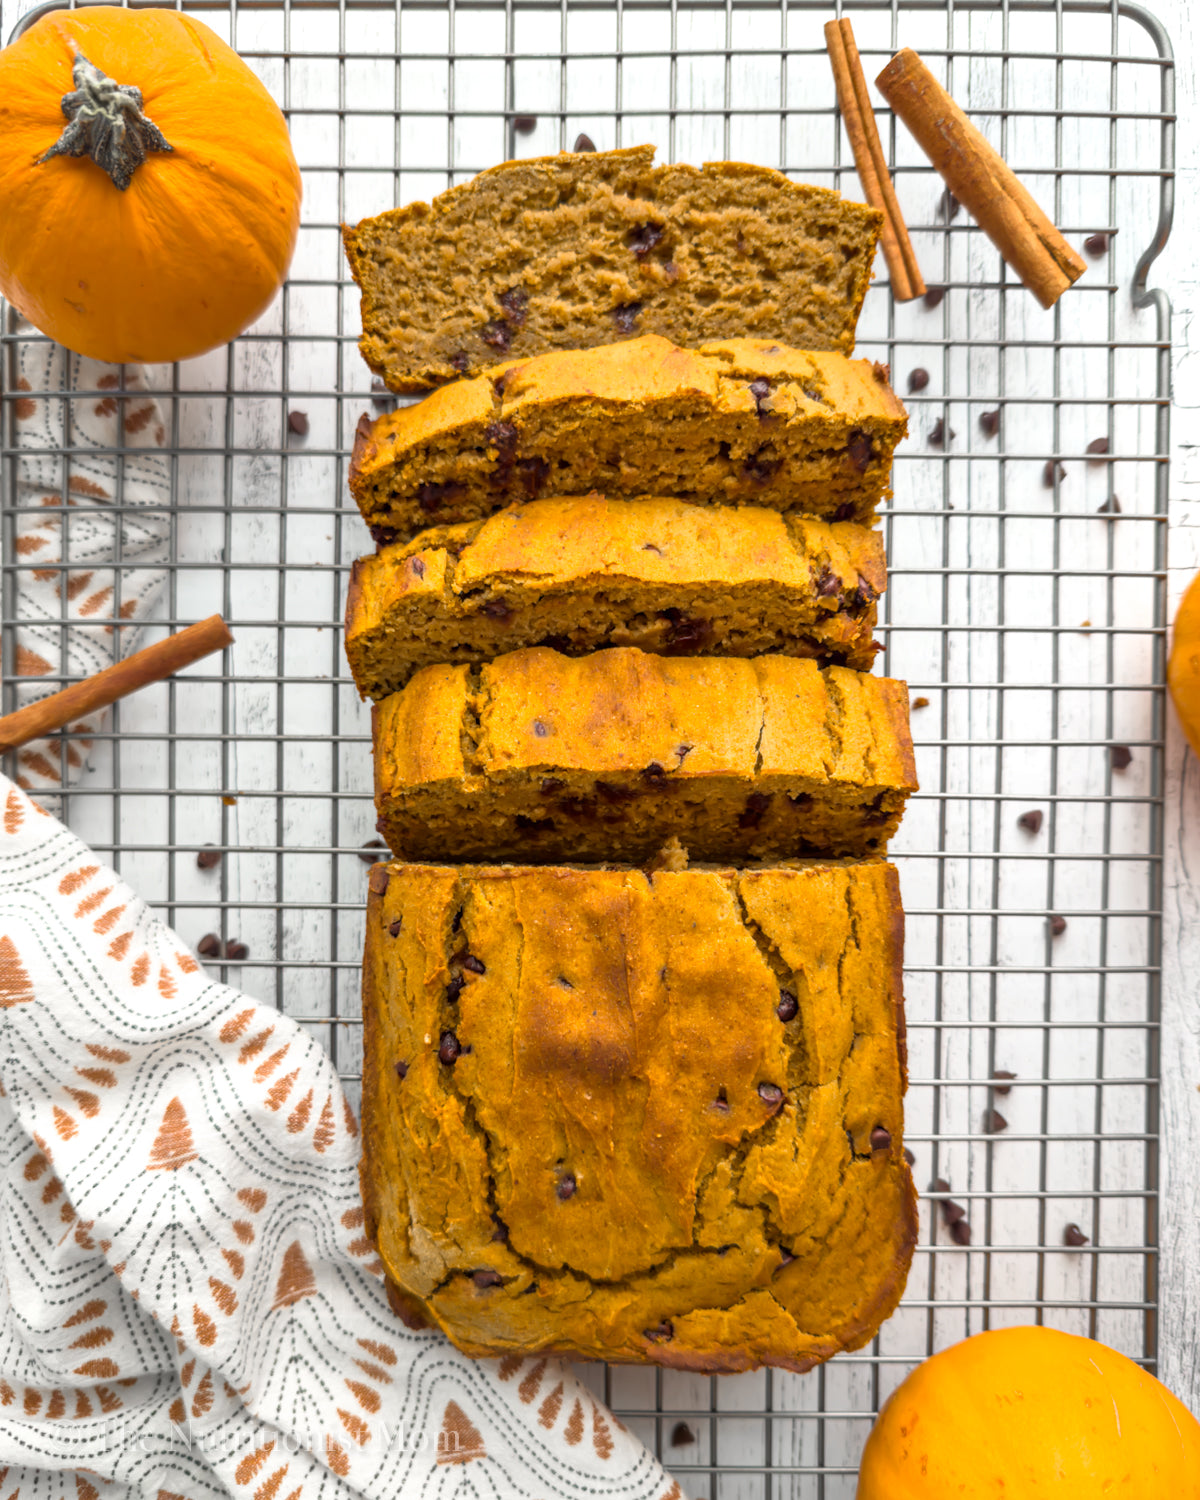
PUMPKIN CHIP PROTEIN BREAD (GLUTEN FREE, DAIRY FREE)
This Pumpkin Chip Protein Bread has a rich, tender texture full of pumpkin spice and chocolate chips (no dry protein bread here). The kids and I can't get enough! Best of all, it's gluten-free, dairy-free, nut-free and easily made egg-free and vegan.
